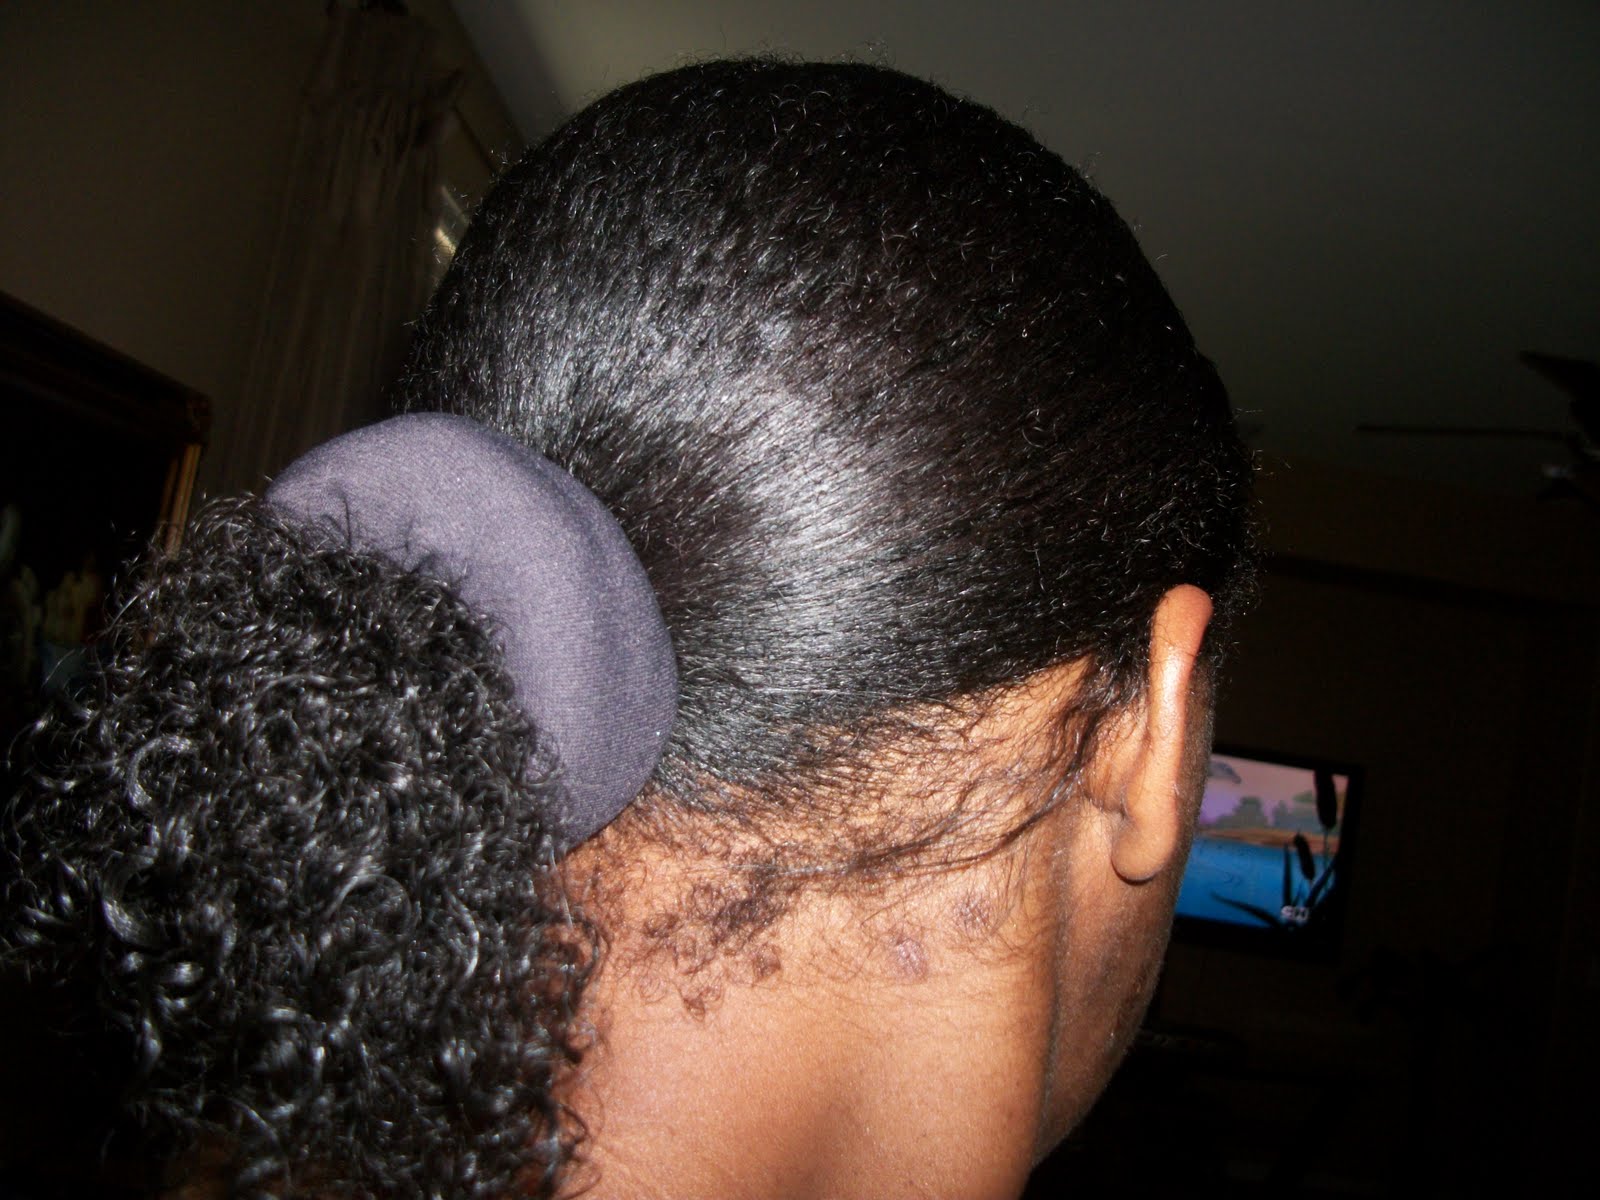
This is a protective style thats easy to do. In fact, its so easy that these are pictures of my first attempt. So here it is, my first wet bun:
1. Start off with wet hair. You can achieve this right out of the shower or with a spray bottle. I used a spray bottle.
2. Moisturize. This is really important because it makes this style a protective style. Since your ends are hidden, they can retain moisture and in turn be better preserved.
3. Smooth hair into a ponytail. You can either do a low pony or a high pony. (As a side note: I really didn't know how curly my hair was until I saw this picture).
4. Apply bun roll. I like to use sock bun rolls because they are inexpensive and easy to make. Something to think about when making your bun roll, make the roll specific to how thick and long your ponytail is if you're using your own hair. This prevents having to tuck away large chunks of hair if you hair is too thick and long for the bun roll and having the stocking show through or not being able to properly secure your hair if th bun roll is too small. Here's how I make my bun roll. Take any old silk stocking or buy one from the store, they usually run no more than $3 for a pair. Cut a hole into the foot of the stocking. Make sure the hole is not too big but big enough or you will have a hard time rolling. Roll the sock outward starting at the top and keep rolling until you have a tire shaped bun roll.
5. Brush hair around bun roll. You might want to use two mirrors so that you can get a good view of the bun.
6. Finish by securing you hair to the bun with and ouchless hair elastic. You can dress this style up with a colorful scrunchie, a scarf, double headbands, elegant hair pins, the possibilities are endless!